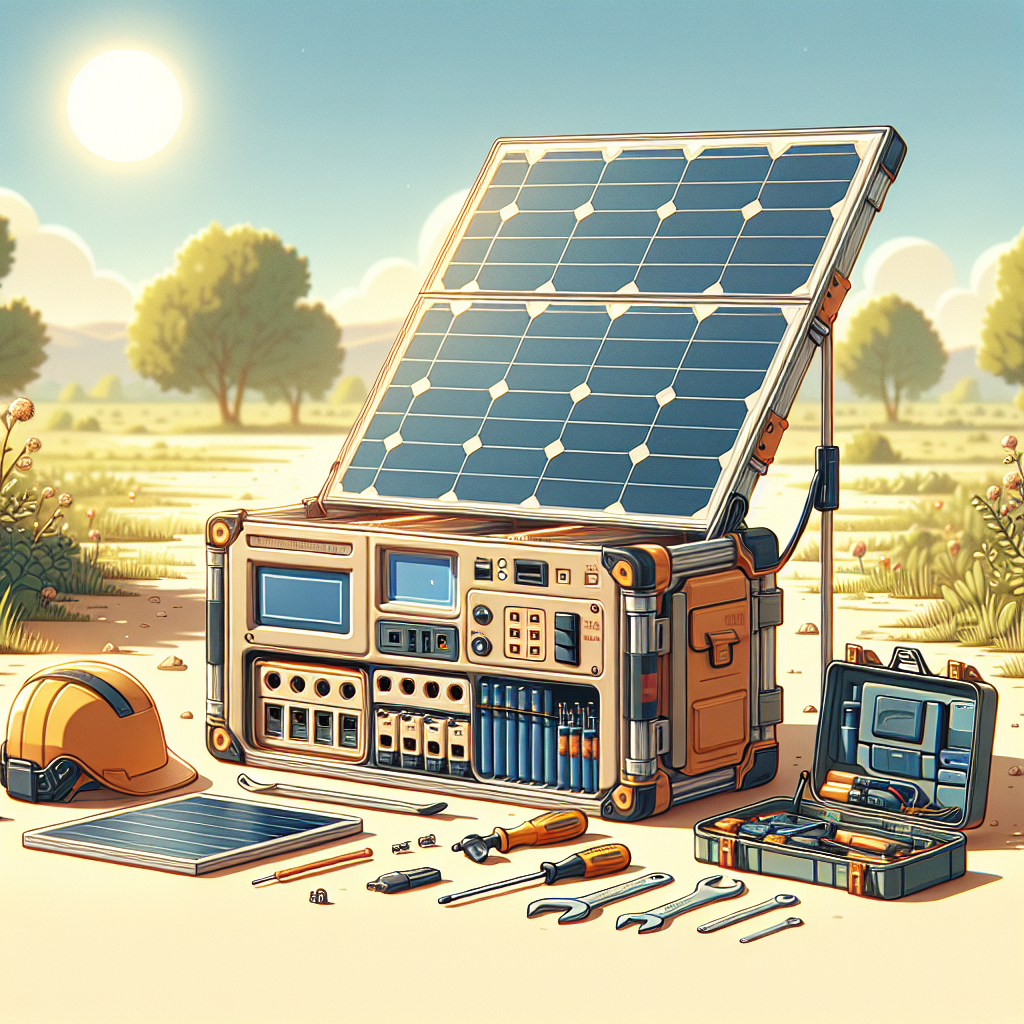
What is a Portable Solar Power Station?
A portable solar power station is a compact, affordable energy system that harnesses solar energy to power electronic devices and appliances. Relying on solar panels and storage batteries, it is ideal for outdoor activities such as camping, tailgating, or emergency backup power. By utilizing renewable energy, it minimizes reliance on fossil fuels, making it an eco-friendly choice for energy consumption.
Components of a Portable Solar Power Station
-
Solar Panels
- Specifications: Choose solar panels based on efficiency and portability. Monocrystalline panels provide higher efficiency in a smaller footprint, while polycrystalline panels are cheaper but less efficient. A 100W solar panel is usually sufficient for personal power needs.
- Considerations: Look for panels with a built-in charge controller to prevent battery overcharging. Ensure they are lightweight and come with a foldable design for easier portability.
-
Battery Storage
- Types: Lithium-ion batteries offer a superior energy density and a longer lifespan than lead-acid batteries. A capacity of 100Ah is generally adequate for daily use.
- Features: Opt for batteries with a built-in battery management system (BMS) to protect against overcharging, overheating, and over-discharging.
-
Power Inverter
- Functionality: A power inverter converts the stored DC (Direct Current) electricity in the battery to AC (Alternating Current) electricity suitable for most household appliances.
- Selection: Choose inverters with a continuous output rating high enough to handle your peak power needs. A 300W inverter will suffice for charging small devices, while larger appliances may require a 1000W inverter.
-
Charge Controller
- Purpose: Charge controllers regulate the voltage and current coming from the solar panels to prevent battery damage and ensure longevity.
- Types: PWM (Pulse Width Modulation) controllers are cost-effective for small systems, while MPPT (Maximum Power Point Tracking) controllers are more efficient and suitable for larger setups.
-
Cables and Connectors
- Quality: Use high-quality PV (photovoltaic) cables to minimize energy loss. Ensure cables are UV-resistant and heavy-duty.
- Compatibility: Use connectors like MC4 for solar panels, which are waterproof and reliable.
Steps to Create Your DIY Portable Solar Power Station
Step 1: Gather Your Materials
Purchase the required components:
- 100W solar panel
- 100Ah lithium-ion battery
- 500W power inverter
- MPPT charge controller
- Necessary cables and connectors
- A sturdy, portable enclosure (like a plastic box)
Step 2: Assemble the Solar Panels
-
Connect the Solar Panels:
- Attach MC4 connectors from the solar panel to the charge controller.
- Ensure correct polarity; positive to positive and negative to negative.
-
Install the Charge Controller:
- Mount the charge controller in the enclosure.
- Connect the solar input terminals from the solar panel to the controller.
Step 3: Connect the Battery
-
Wire the Battery:
- Connect the battery output terminals to the charge controller’s battery input.
- Again, respect the polarity—matching positive with positive and negative with negative.
-
Enable the BMS:
- Make sure the battery’s built-in management system is activated. This will protect your battery and optimize charging.
Step 4: Install the Power Inverter
- Connect the Inverter:
- Attach the inverter to the battery’s output terminals.
- Use proper gauge wiring to accommodate the current. For 500W use at least 10-gauge wire to prevent overheating.
Step 5: Testing the System
-
Initial Testing:
- Place the solar panel under direct sunlight.
- Check voltage readings from the charge controller to confirm the system is functioning.
-
Load Testing:
- Connect a small appliance (preferably under 300W) to the inverter for testing.
- Monitor performance and ensure everything is operating smoothly.
Maintenance Tips for Your Solar Power Station
-
Regular Inspection:
- Routinely check connections for corrosion or wear. Tighten loose connections to ensure optimal performance.
-
Battery Care:
- Store the battery in a cool, dry place. Avoid extreme temperatures, which can reduce its lifespan. Recharge it regularly to prevent degradation.
-
Clean Solar Panels:
- Dust and debris can reduce efficiency. Clean your solar panels with a soft cloth to ensure maximum solar absorption.
Safety Precautions
-
Short Circuit Protection:
- Implement circuit breakers or fuses to prevent damage from electrical faults.
-
Discharge Limits:
- Avoid deep discharging of your battery to extend its lifespan. Recharge when it drops below 50%.
-
Proper Storage:
- If not in use for long periods, store the station in a shaded area to protect it from the elements.
Benefits of a Portable Solar Power Station
- Environmentally Friendly: Solar power reduces carbon footprints and promotes sustainable energy usage.
- Versatile Energy Source: Serves a variety of applications, from powering electronics during outdoor activities to emergency backup power in households.
- Cost-Effective: After the initial investment, solar energy systems can reduce utility bills and provide free power for years.
Conclusion
Creating a DIY portable solar power station involves understanding each component and how they work together to create a reliable energy source. With appropriate materials, careful assembly, regular maintenance, and adherence to safety precautions, you can enjoy the benefits of solar energy in a portable format. Portable solar power stations provide a versatile, eco-friendly, and cost-effective solution for your power needs, regardless of your location.
