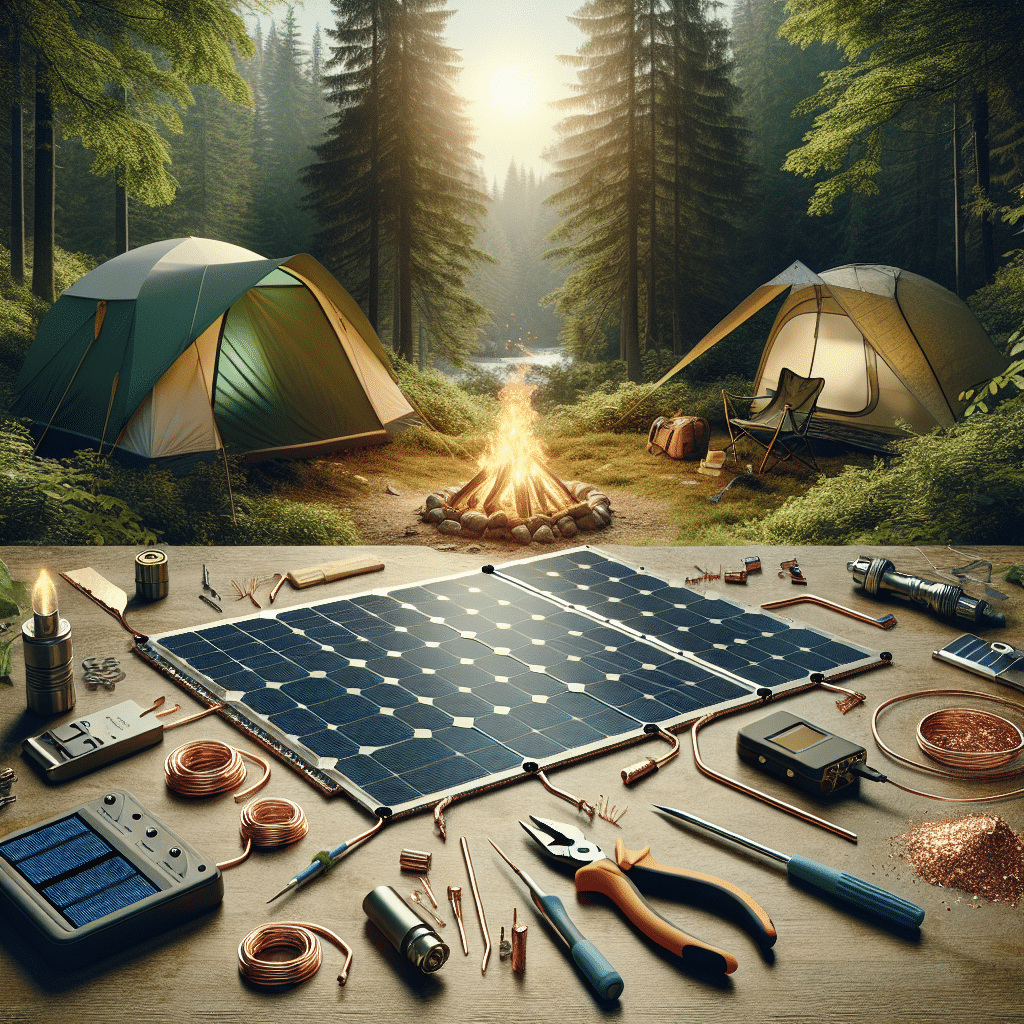
Understanding the Basics of Solar Power for Camping
When considering DIY solar panel hacks for camping, it’s essential to grasp the fundamentals of solar power. Solar panels convert sunlight into electricity, providing a renewable energy source to charge devices and power appliances. For camping enthusiasts, harnessing solar power can enhance the outdoor experience while minimizing reliance on traditional energy sources.
Assessing Your Power Needs
Before diving into solar projects, evaluate your power needs. Create a list of the devices you plan to use while camping—this could include phones, laptops, lights, and coolers. Calculate the wattage of each device and determine how long each device will run daily.
- Example Calculation:
- Smartphone charger: 5W x 2 hours = 10Wh
- LED light: 10W x 4 hours = 40Wh
- Total: 50Wh
Knowing your total wattage will help you size your solar panel and battery system accordingly.
Choosing the Right Solar Panels
When selecting solar panels for your camping setup, consider portability, weight, and efficiency. Flexible solar panels are an excellent option for campers due to their lightweight and foldable designs. Rigid panels typically offer higher efficiency but are bulkier.
- Recommended Types:
- Monocrystalline Panels: More efficient and compact but generally more expensive.
- Polycrystalline Panels: Less expensive and slightly less efficient; still a solid choice for budget campers.
- Flexible Panels: Easy to transport and install but may have lower efficiency.
Creating a DIY Solar Panel System
Materials Needed:
-
Solar panel
-
Charge controller
-
Deep-cycle battery (AGM or lithium)
-
Inverter (if necessary)
-
Cables and connectors
-
Mounting hardware
-
Step 1: Select your solar panel size. For a power need of 50Wh, a small 100W panel suffices, offering ample power for charging and running devices.
-
Step 2: Install a charge controller. This device helps regulate the power going into your battery, preventing overcharging and extending its lifespan.
-
Step 3: Connect the battery. Using the appropriate cables, connect your solar panel to the charge controller and then to your battery.
-
Step 4: Add an inverter (optional). If you need to power AC devices, connect an inverter to the battery. For DC devices, you can connect directly to the battery.
Compact Solar Storage Solutions
DIY Solar Power Bank:
- Materials: Small solar panel (20W), battery bank, USB output.
- Steps:
- Connect the solar panel to a solar charge controller.
- Connect the controller to a portable battery bank.
- Add a USB output for charging devices on the go.
This compact power bank is easy to carry and perfect for charging phones and small gadgets.
Utilizing Solar Water Heating Techniques
For campers looking to enjoy warm showers or hot water for cooking, solar water heating is a viable option.
DIY Solar Water Heater Using Black Hose:
- Materials: Black flexible tubing (50 feet), container for water.
- Steps:
- Lay the wire inside the black tubing in a spiral shape.
- Position the tubing in direct sunlight.
- Connect one end of the tubing to a water container, allowing sunlight to heat the water flowing through it.
This method effectively utilizes solar energy to warm water, providing a comfortable camping experience.
Solar-Powered Lights for Campsite Illumination
Lighting is a crucial aspect of any camping experience. Instead of using disposable batteries, consider solar-powered LED lights.
DIY Solar Lanterns:
- Materials Needed: Empty glass jars, small solar garden lights, paint (optional).
- Steps:
- Remove the stake from the solar lights.
- Place the solar unit inside the jar, ensuring the solar panel is exposed to sunlight.
- Optional: Decorate your jars with paint to suit your campsite ambiance.
- Place these lanterns around your campsite for practical and charming lighting.
Solar-Powered Cookware
Cooking with solar power can be easy and efficient with some creativity.
DIY Solar Oven:
- Materials Needed: Cardboard box, aluminum foil, plastic wrap, a black pot.
- Steps:
- Line the inside of a cardboard box with aluminum foil to reflect sunlight.
- Create a cover for the box using plastic wrap to trap heat inside.
- Place a black pot inside the box for cooking, as black absorbs solar energy.
- Position the oven towards the sun and adjust throughout the day for maximum exposure.
Tips for Increasing Solar Efficiency
- Angle the Solar Panels: Position panels at an appropriate angle to capture maximum sunlight, typically aimed towards the sun’s zenith.
- Keep Panels Clean: Ensure that dust and debris don’t block sunlight; clean panels with a soft cloth occasionally.
- Use High-Efficiency Batteries: Invest in lithium batteries for a longer lifespan and more efficient energy storage.
Harvesting Solar Energy on the Go
When camping, you’re always on the move. Here are some tips to make harnessing solar energy easy.
- Portable Solar Chargers: Small and foldable solar panels can fit easily in a backpack, allowing you to charge devices while hiking or exploring.
- Solar-Powered Camping Tents: Look for tents integrated with solar charging capabilities for ultimate convenience in maintaining power throughout your trip.
Creating a Sustainable Camping Experience
Incorporating DIY solar panels and alternative energy solutions into your camping repertoire not only enhances your experience but also supports eco-friendly practices. Using solar power helps reduce environmental footprints while providing the comforts of home in nature.
By utilizing these DIY hacks, campers can enjoy their outdoor adventures without compromising on the essential comforts powered sustainably. Happy camping!
